|
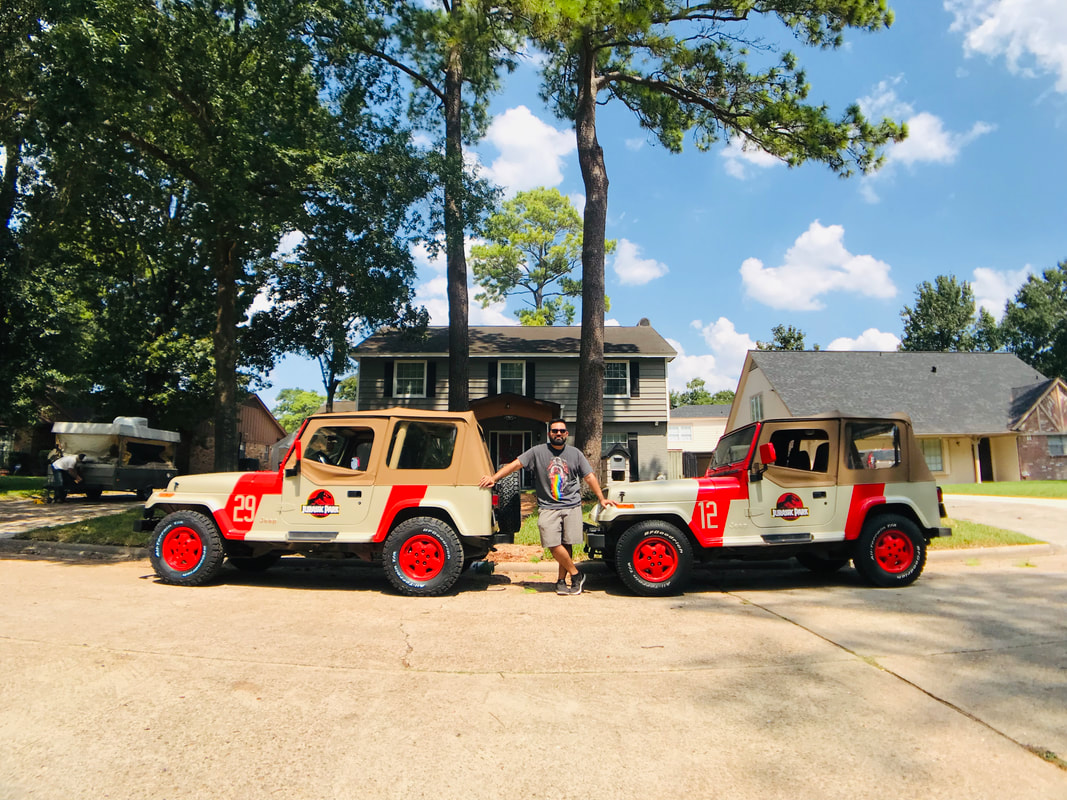
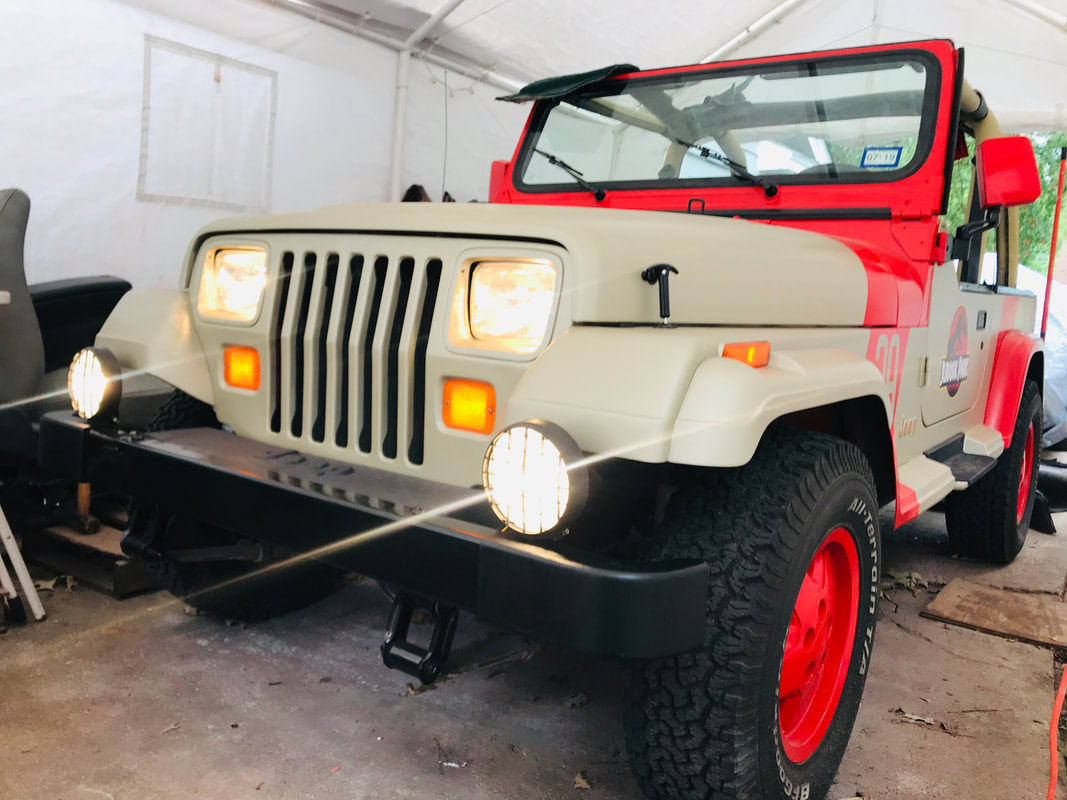
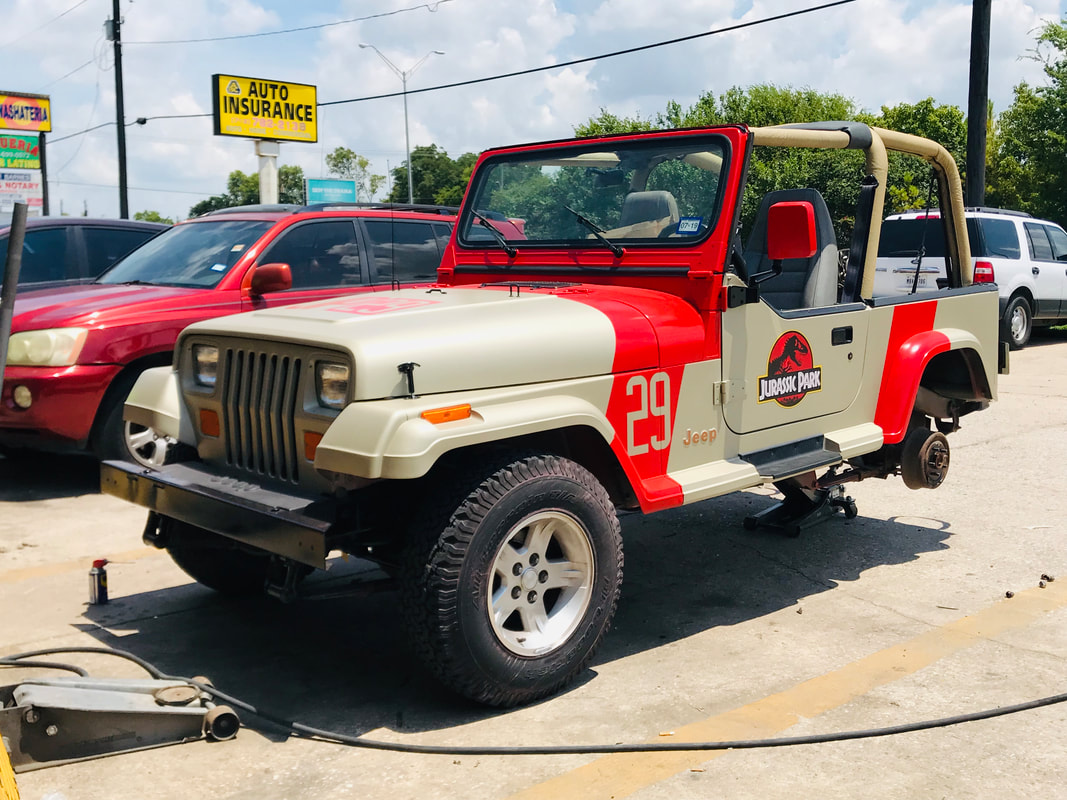
I added the final touches to JP and she is ready for her new home in Dallas, TX! I love the process of building a Jurassic Park Jeep as much as driving it! It's interesting to see how much better i've been getting at building these things the more I do it. JP12 has its tiny imperfections but with JP29 I was able to get everything almost spot on. If you would like to commission me for a Jurassic Park Jeep build, lets talk! jurassicvic@gmail.com
0 Comments
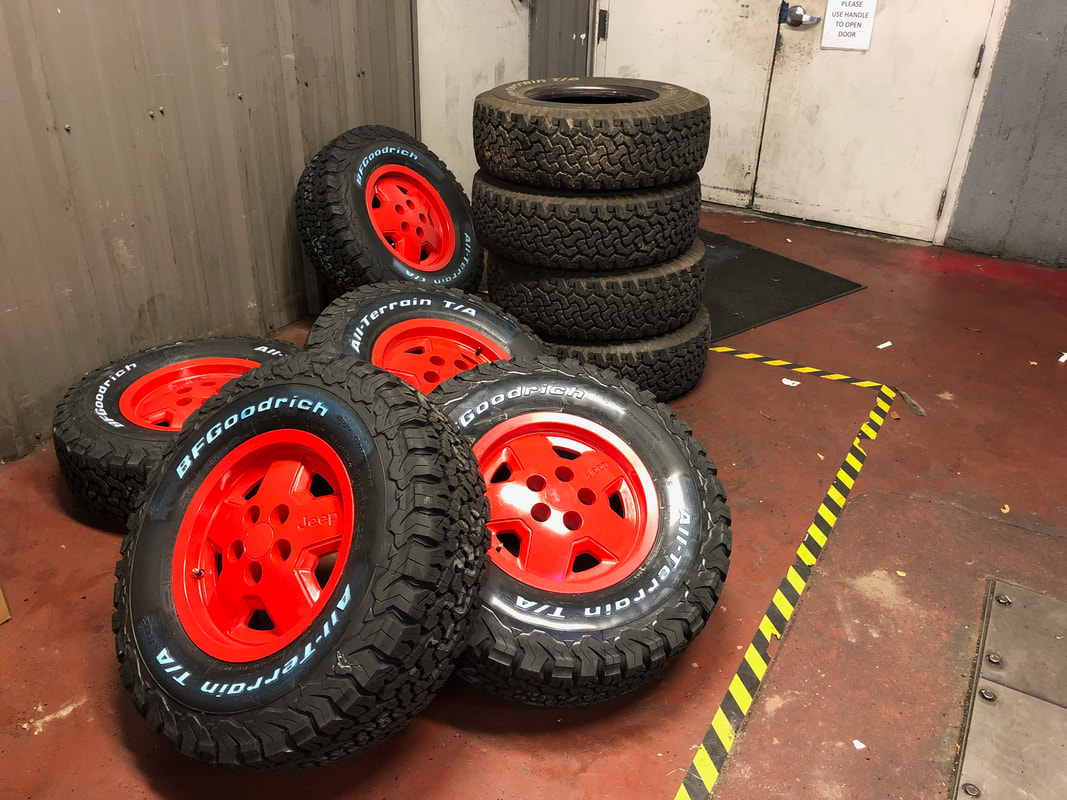
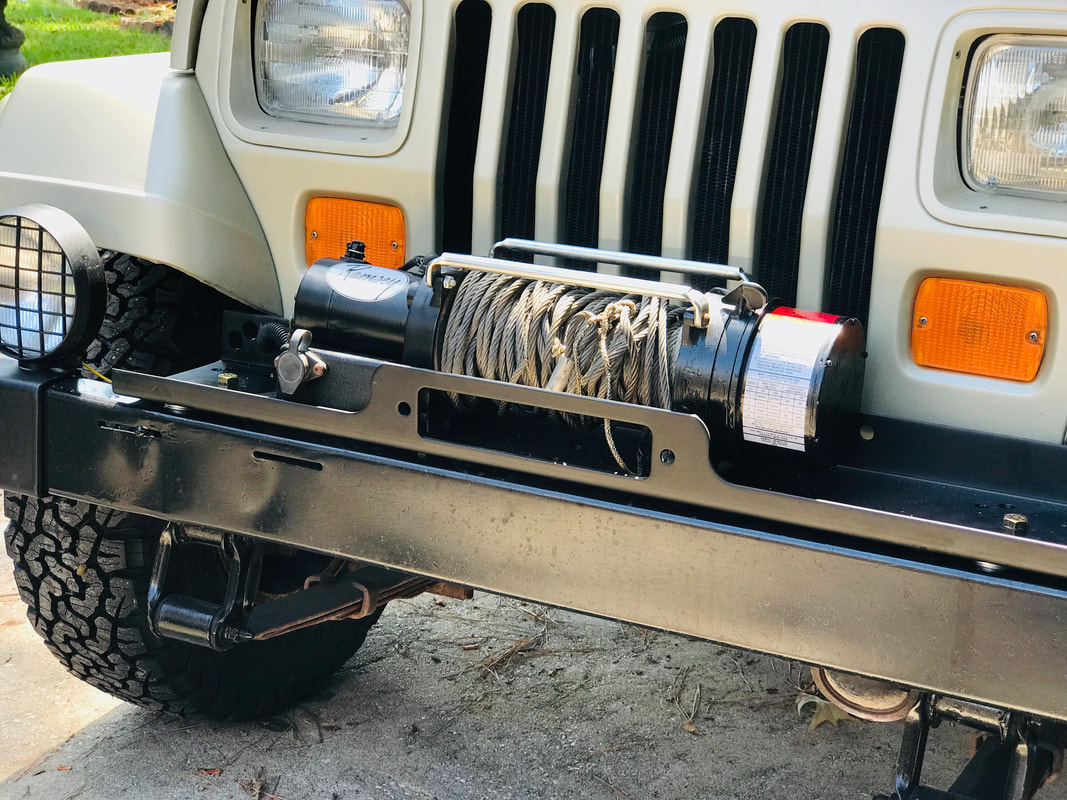
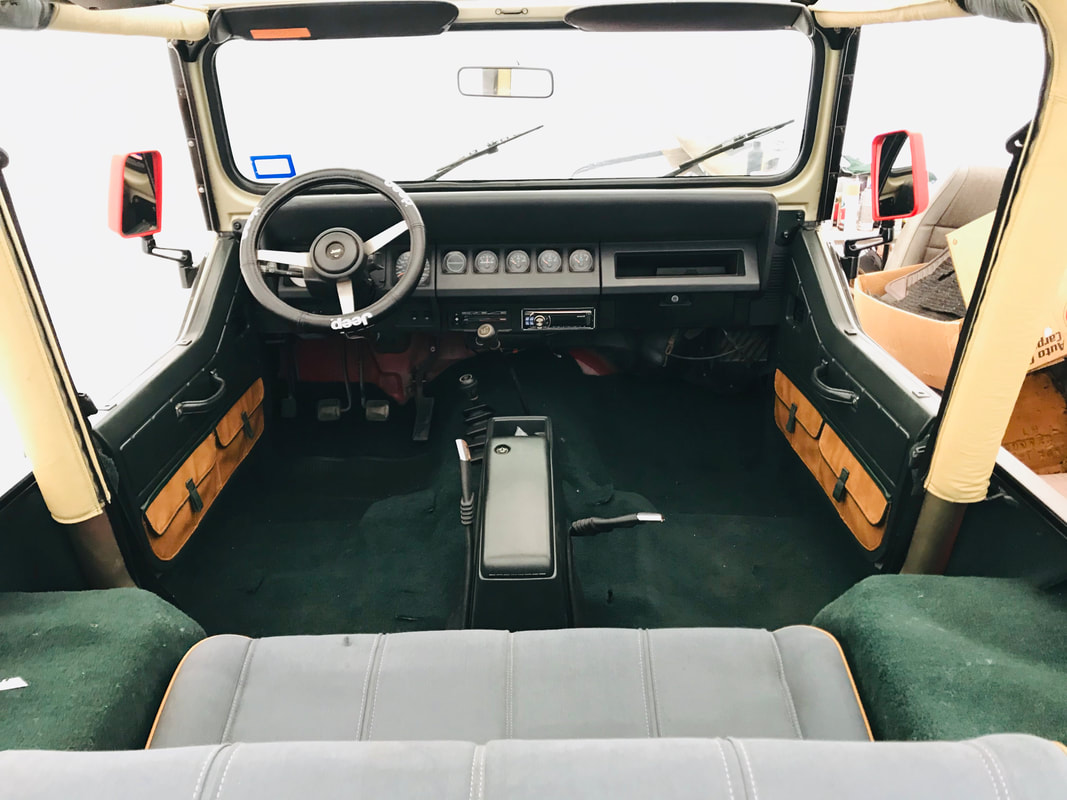
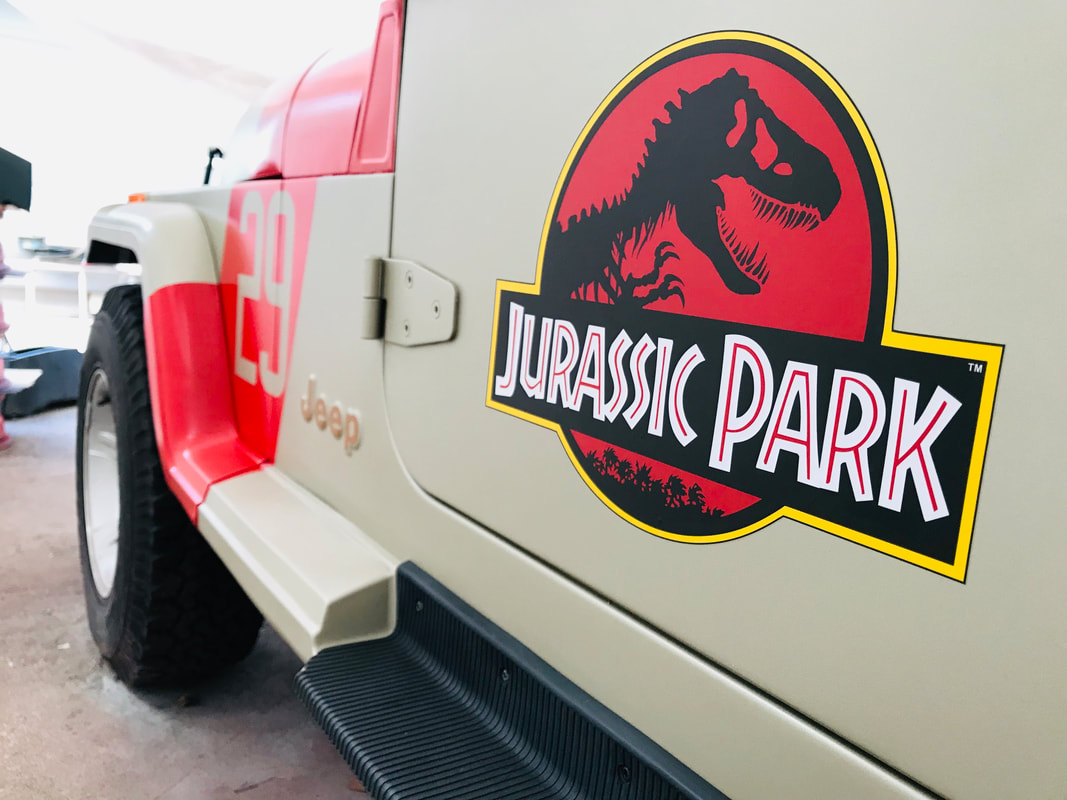
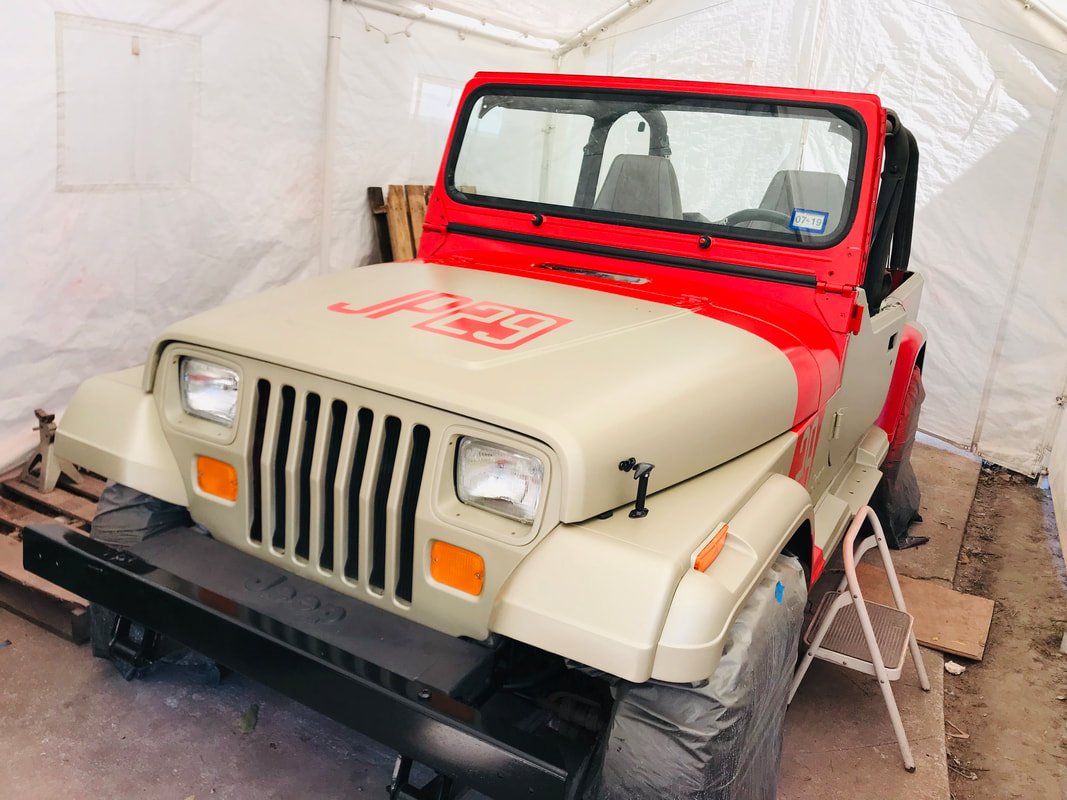
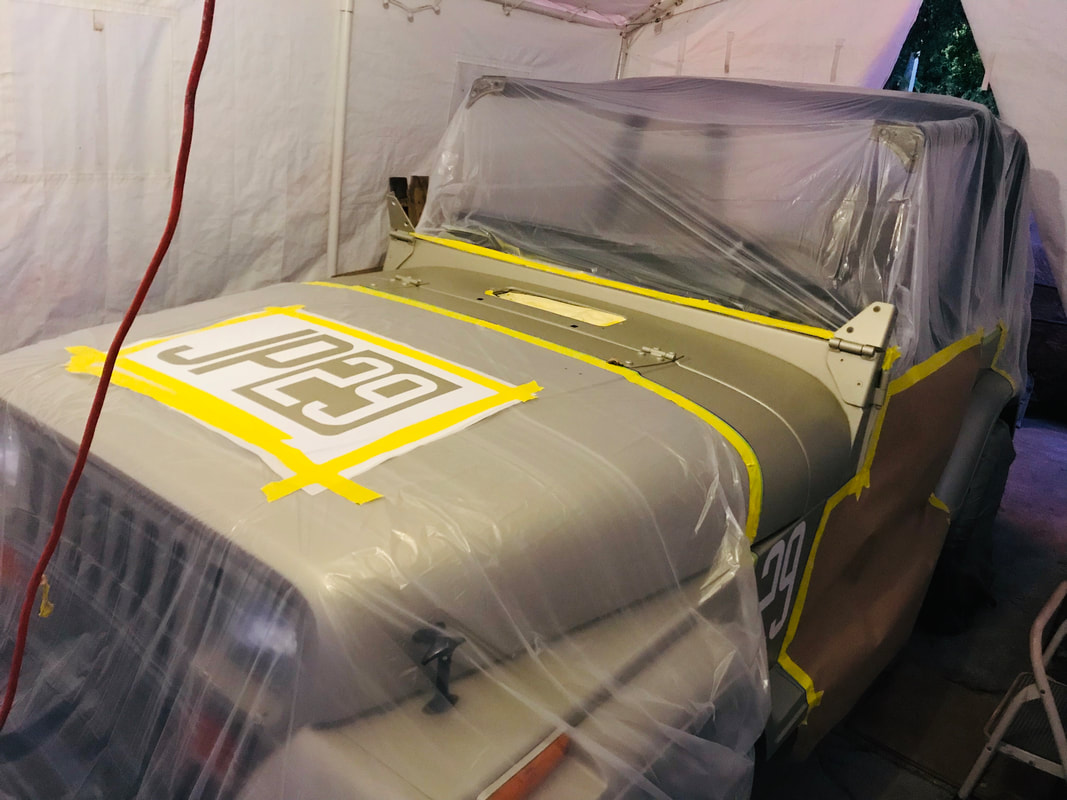
Nothing more beautiful than seeing brand new All-Terrain tires on freshly painted wheels! Also I installed a brand new Bestop Sailcloth soft top, which in my opinion, is the best top to have since it's thicker and quieter than the standard soft top. There is a first time for everything, and this is a prime example of that statement. I found a Ramsey PRO6000 winch that resembled the screen accurate and highly elusive REP6000. I got it home and took it apart to see what I was working with. I noticed slight differences between the correct winch and this one and began to wonder If maybe I could "Frankenstein" 2 winches to make 1 very screen accurate looking winch. I was able to locate a bare Ramsey REP8000 winch locally for cheap, took that one apart, and LOW AND BEHOLD! One end of the winch was screen accurate, and the other end of the OTHER winch was screen accurate. I put them together and BAM! What a great looking close enough winch! Then It was time to restore. I stripped the original paint off to the metal, and painted it semi-gloss black, ordered some replacement decals and it was good as new! I bought a winch plate from Harbor Freight since it's the closest to screen accurate you can get without buying the real thing. Installed the winch, wired it up, and to my surprise, it worked! After about two days of wrestling with this damn carpet, I was able to get it to look close to factory as possible. Yes, it was quite the pain to install, but the end result of fresh carpet made it worth while. If you have the patience and want new carpet, go for it. If not, I personally would wait around for original Sahara green carpet to pop up at a jeep junkyard. I took the Sahara rear bench to work to get it power washed and its nice and clean! I just wish it wasn't so faded and it kept its dark "wet look". It's a challenge to find 25 year old Sahara seats that aren't faded. Rear bench is now installed! Special delivery from my good friend and fellow expert Jurassic builder and pioneer, Brandon C. I bought some Sahara front seats from him and he was kind enough to ship the giant box to me. $200 later (ouch) in shipping fees and the seats arrived safely and well packaged in Houston! Also, I painted the spare rim so I can finally get all 5 brand new BFG all-terrain tires installed. I just scuffed the clear coat, primer filler, sanded, and painted with ford performance red. Good as new! Still waiting on the fabrication shop to finish up the light bar.. That is taking much longer than i'd long for it to be but I will try to give them the benefit of the doubt to finish VERY SOON. With the temperatures in the high 90s, I struggled working on JP29 for long periods of time. Today I tackled installing the front bumper fog lights and wired them up. You can purchase a set HERE! I took out the front and rear seats along with the grey carpet to switch it out with brand new dark green carpet. Due to the carpet not being precut, I was only able to finish the rear portion. PSA: Aftermarket carpet is a huge pain in the ass. Most of it is cut, but you have to cut all the holes for the seat belts, seat bolts, latches, etc. I probably wont buy aftermarket carpet again. Nothing beats the original! But if you must use aftermarket.. I purchased mine from rockauto.com More and more parts have been coming in through the mail, almost like Christmas! Getting closer to completion. I still have to pick up a brand new set of BFGoodrich All-Terrain tires I purchased, install the brand new Bestop sailcloth soft top, install the front and rear Sahara seats (once I give them a good power wash), and a few other details here and there. ONWARD! JP29 had her first day in the sun today since the conversion began! She runs and feels great, and gets a ton of smiles. It's always a lot of fun driving around topless feeling the breeze flowing through the Jeep. Today I took JP29 to replace the rims with the screen accurate rims. I was a little nervous the tire shop would scuff the freshly painted wheels but they did a great job being careful. PHEW! New rims are on, the white lettering was flipped so its on the outside of the tire, and now there's a night and day difference! I also dropped off the light bar I from my other Jeep at the fabrication shop to have the bar replicated. I emphasize on how important it was to replicate it exactly as the one I brought in because every detail matters to me and my OCD! I see the finish line! It's Monday, and I took the day off from work to continue working on JP29. Today, we put the "cherry on top" and applied the door decals, the jeep logos, and the 4.0 decal as well. We kept moving along today and applied all of the stripes, and stencils as well as painted the rims. The hood stamp is a stencil as well as the numbers on the sides so they are permanent. We also painted and restored all of the black parts like the front and rear bumper, wipers, door handles, soft top framing and rails, basically any part that was originally black got a fresh coat of black paint. If you're going to repaint a vehicle, its a must to repaint everything else so its uniform like a brand new car! We also painted the door panels sahara green and applied my world famous custom made door pouches! Available to purchase in my store. The new project is moving right along! I decided to build my third Jurassic Park Jeep, and this time I chose number 29 because it was used in both Jurassic Park, AND Jurassic World! JP29 is the hero car in Jurassic World that the kids found in the old visitors center and used it to get them to safety!
|
Victor P.Lover of Jurassic Park, builder of Jurassic Jeeps! Archives
December 2019
Categories |
 RSS Feed